


Pretty nice fit from the top though.

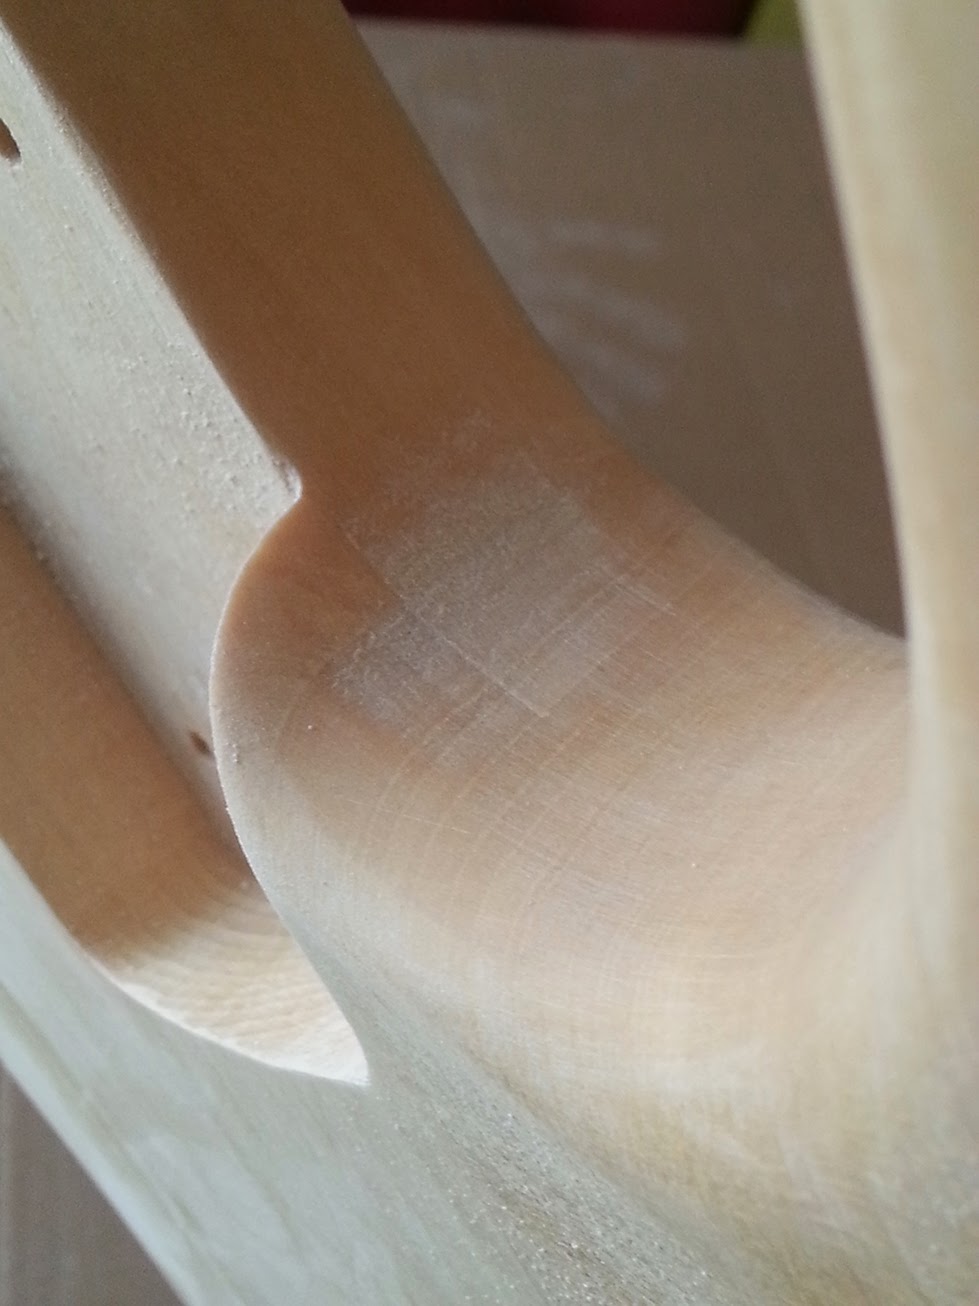
I also softened the radius on one side of the neck heel. This probably also wasn't necessary, given that all the holes are pre-drilled...live and learn.


I discovered (after painting) that there is not a hole drilled for the input jack wires to connect with the volume pot. This is kind of a big miss. I had already painted my guitar and had to orchestrate drilling a rather long hole in the body. I would recommend checking out yours to make sure there's a hole for the wires to connect from the input jack to the pot. You may have to buy an extra long drill bit. I happened to have a super long concrete bit that I could use, but it was not ideal, especially after I had already painted the body. Be careful when drilling this hole too. Make sure that you have the right drilling angle from all sides so that you don't drill up through the top or bottom of the body...
Next step - Painting!
Here's where it gets really fun. I'm going for a matte finish and I'm not too concerned with perfection in the final look, but if I were, I would prime the body first with Laquer primer, then sand, then repeat until I have a nice smooth surface. Remember that paint will never improve the actual surface of the guitar - it won't fill any cracks, nicks or small dings, it only adds color. Use primer to level out small scratches. For anything bigger I would use some wood filler applied with an exact knife, then sand and prime over it. This place has a ton of good advice if you're looking for a super glossy finish - http://www.reranch.com/basics.htm
But I digress - back to the task at hand. The first step is to mask off the neck pocket, and the bridge cavity. The bridge screw holes are also really important to mask and I did the tuner holes on the headstock too, just so the parts will go in easily once I get to the assembly stage. I masked the neck screw holes on the body, leaving one hole open for a coat hanger to hang the body while it dries.


On to the paint - I'm painting mine with a flat black laquer, followed by some stenciled on graphics, also painted with lacquer. Remember to start with a light coat and build up from there...


Stay tuned for the next installment - final assembly.
Rock on!
-Cutter Savage
Check out my music videos - Cutter Savage YouTube channel
Free guitar instrumental music - Cutter Savage on SoundCloud
Nice work so far!
ReplyDelete