Wednesday, February 19, 2014

How to Build a Kit Guitar - Part 4

Okay, I now have the entire guitar built. The final step is to add some power. I started by following what I thought made sense based on how the pot was pre-wired, a pickup diagram I googled, and what the pickup connections seemed to be telling me. That didn't work when I plugged it in, so I did a little more research on the interwebs, and found a nice YouTube video that explains how to wire a single pickup guitar. Done aaand done!

Rock on!

-Cutter Savage
Check out my music videos - Cutter Savage YouTube channel
Free guitar instrumental music - Cutter Savage on SoundCloud


Tuesday, January 28, 2014

How to Build a Kit Guitar Part 3

Okay, on to the next stage - final assembly. If you haven't been following along, check out Part 1 here and Part 2 here.

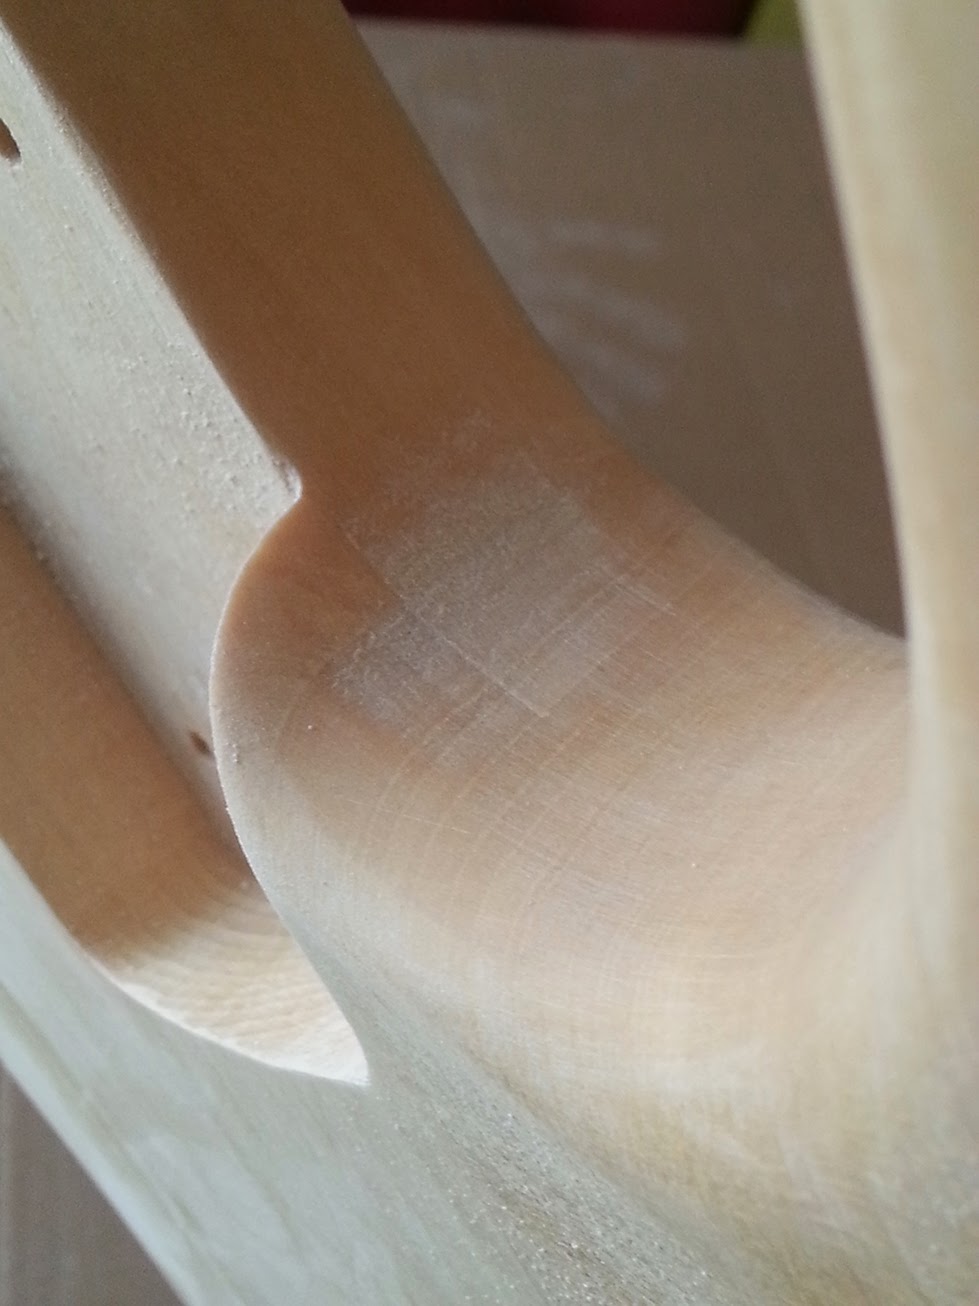
So far I sanded the neck and body, did some prep work on the neck pocket (which was probably unnecessary) and masked and painted the guitar.

Before assembly, I would recommend drilling the hole for the input jack to connect to the volume pot if it's not there. On mine this wasn't drilled at the factory, so I had to drill it out much later in the process. I would even do this before painting as I mentioned in an earlier post.

The first step for assembly is to add the tuning keys. It's pretty self explanatory, but you just slide the tuner in from the back, add the washer to the top and tighten down the nut. Then you go back and add the little screw to the back of the tuner. There are already pilot holes so it's not too big of a deal. Next, I added the locking nut. Fortunately, the pre-drilled holes lined the nut up properly on the neck, but I would have preferred to fit this on myself. If all of the necks are 100% accurate (and maybe they are) then I don't have a problem with this, but if the pre-drilled holes for the nut are off at all, then your inside and outside strings will be too close or to far from the edge of the fingerboard. With all that said, I got the nut screwed in and everything looks great.


Next I added the two shafts for the Floyd Rose. Take a dowel rod and use that to tap them in with a hammer. I didn't need to use too much pressure to make them go in straight. Use a beach towel under your guitar to pad the body. Make sure if you're using Lacquer that it's completely dry - that type of paint can stay soft for a long time. Tap them in until they're flush with the body, then screw in the bridge posts.


I dry fit the bridge with the outside two strings installed in the bridge (high and low E), dry fit the neck, and checked the string alignment relative the the outside of the fretboard. Again, this was a step that wasn't necessary because the neck holes are pre-drilled, but I've done this on other builds where you have to do a little more of the alignment than this one. Everything lined up very well! The high E and low E both had correct distance from the edge of the fretboard.


Next I removed the bridge and the bridge screws and I flipped the guitar over and attached the spring claw. Just place the claw in the middle of the back of the cavity and mark the holes with a sharpie. Next I pushed the screw in just a little to start pilot holes. Since the screws are going into end grain, I didn't need to drill pilot holes and the screws went right in.


Now's a good time to dry fit the pickup. After I had the guitar assembled, I found that I had to dig out a little on the sides of the cavity to allow the pickup to raise and lower. I was able to just carve out some extra wood with an exacto knife.


Okay, time to get the neck attached to the body. Put the neck plate on with the black rubber side toward the guitar (if it has one - some are just metal without a rubber side) and screw the four bolts in. I like to go in a rotating pattern, tightening one a little, then the next, then the next one, until they are all the way in. This way you know that one screw isn't pulling the neck in a certain direction more than another and that they are all equally tight. I don't like to use a drill driver for this because I never want to risk stripping the screws or over tightening.


Next I added the pickup to the body, routing the pickup wire through the hole to the control cavity. Just slide everything into place and screw the pickup ring to the body.

Here comes one of the tricky parts - adding the springs to the bridge. I slid the bridge into place and I went ahead and strung the guitar up without the springs attached. I would add some chapstick to the knife edge of the tremelo - the point where the bridge touches the poles. With this being a lower end Floyd Rose, I found that I had to go back later and do this to help the bridge return back to zero after using it for a divebomb...which I like to do (who doesn't?. The bridge was sticking and wouldn't return. It's working pretty well now, although I'm still giving this one a road test. It seems to hold tune, but definitely doesn't seem as stable as my Kramer Pacer Classic. That guitar is rock solid in the tuning department. There may be some string slippage at either the nut or the bridge clamps...more to come as I continue to evaluate. Okay, with everything connected - bridge in place, strings lightly strung up (not all the way to pitch but not completely loose) I flipped the guitar over and attached the three springs. This can be a little tricky but you can loosen the claw to bring it close enough to the springs to get them on. I forgot to take a picture in progress, so here are the springs after wiring:


Now you can tune your strings up to pitch. I screwed the claw in a little to make it centered on the cavity. It may take a few times tuning up to get the strings to stay in tune. Once they are, screw the spring claw in until the bottom of the bridge sits parallel with the body. You have to go back and forth tuning and adjusting the claw like this until you have the right balance. Once I had the strings relatively tight though, I held the trem bar down so the bridge was close to parallel and tuned the strings up. Then I fine tuned with the claw. It seemed to get me there faster. If your strings are flat against the neck, just raise the two post screws up until they're off the neck. This will give you rough action that you can adjust later, after you get things wired up. You may want to add a little neck relief by turning the allen nut at the top of the neck just a bit. There are a ton of tutorials out there about adjusting action and string height so I won't go into that. Suffice to say that I added a little relief to the neck and raised the strings up off of the fretboard until they stopped buzzing too much and I have a nice low but playable action.

At this point the guitar is ready to play. We just need to add electricity so we can disturb the neighbors properly...and that's what we'll cover in the next installment!

Rock on!

-Cutter Savage
Check out my music videos - Cutter Savage YouTube channel
Free guitar instrumental music - Cutter Savage on SoundCloud


Saturday, January 18, 2014

Open E Tuning

Open E tuning from low-high is E-B-E-G-B-E. So, when you strum all of the strings open, it makes an E chord.  Usually when I tune my acoustics I go down half a step, so I just start with Eb in the low E string and go from there. I find that I can just shred a bit more when the strings have a little less tension on them. Why make it hard?

Tuning to open E can open up a lot of possibilities for playing slide, open country-style hammer-on licks, and a lot of open chords that just aren't available. Try strumming all of the strings open and then hammering on a regular E chord shape. Viola - instant "She Talks to Angels."

Here's a song I wrote that uses open chords, string sliding and hammer-ons in open E tuning.


Thursday, January 16, 2014

How to Build a Kit Guitar - Part 2

I'm in the process of building a guitar Kit that I purchased from www.byoguitar.com. Check out part 1 if you haven't been following along. So far I've sanded the neck smooth and started to prep the body. I sanded the neck cavity just a bit to fit the neck a little better. There was an area where the pocket cut back in a bit and it was keeping the neck from dropping straight into the pocket. I opened it up and straightened it with a sanding sponge. In retrospect I probably didn't need to do this step since the neck does slide into place from the top, but on past guitars I've built, I had to actually drill out the holes on the neck, and the fit was much more critical. On this kit, the holes in the neck are pre-drilled, so the placement of the neck within the pocket is dictated by the holes that are already there. So, you may be thinking that the neck pocket should be tight enough to keep the neck from wiggling. Yeah, this fit isn't quite that tight, unfortunately. Back to the build, though. I straightened the one side of the neck pocket, checked the neck fit, then sanded the entire body with the extra fine side of a sanding sponge. If you've never used a sanding sponge for something like this, it's the perfect tool for the job. It really makes it easy to sand the radii without going all the way down to the wood.


 Below - the final fit still left some space. The picture makes the gap look a little bigger than it actually is.
Pretty nice fit from the top though.


 I also softened the radius on one side of the neck heel. This probably also wasn't necessary, given that all the holes are pre-drilled...live and learn.


I discovered (after painting) that there is not a hole drilled for the input jack wires to connect with the volume pot. This is kind of a big miss. I had already painted my guitar and had to orchestrate drilling a rather long hole in the body. I would recommend checking out yours to make sure there's a hole for the wires to connect from the input jack to the pot. You may have to buy an extra long drill bit. I happened to have a super long concrete bit that I could use, but it was not ideal, especially after I had already painted the body. Be careful when drilling this hole too. Make sure that you have the right drilling angle from all sides so that you don't drill up through the top or bottom of the body...

Next step - Painting!

Here's where it gets really fun. I'm going for a matte finish and I'm not too concerned with perfection in the final look, but if I were, I would prime the body first with Laquer primer, then sand, then repeat until I have a nice smooth surface. Remember that paint will never improve the actual surface of the guitar - it won't fill any cracks, nicks or small dings, it only adds color. Use primer to level out small scratches. For anything bigger I would use some wood filler applied with an exact knife, then sand and prime over it. This place has a ton of good advice if you're looking for a super glossy finish - http://www.reranch.com/basics.htm


But I digress - back to the task at hand. The first step is to mask off the neck pocket, and the bridge cavity. The bridge screw holes are also really important to mask and I did the tuner holes on the headstock too, just so the parts will go in easily once I get to the assembly stage. I masked the neck screw holes on the body, leaving one hole open for a coat hanger to hang the body while it dries.


On to the paint - I'm painting mine with a flat black laquer, followed by some stenciled on graphics, also painted with lacquer. Remember to start with a light coat and build up from there...


Stay tuned for the next installment - final assembly.

Rock on!

-Cutter Savage
Check out my music videos - Cutter Savage YouTube channel
Free guitar instrumental music - Cutter Savage on SoundCloud


Thursday, January 2, 2014

Behringer DR400 Delay Review


I recently picked up a Behringer DR400 as a second delay pedal. I already have a Digitech that's great, but I thought it would be nice to have a second delay as a backup and I also wanted the option of having a long and short delay for live playing. The pedal is only 50 bucks and this is a case of "you get what you pay for." The housing is made of a pretty lightweight plastic, which I was willing to overlook since this is a backup to my main delay pedal. The delay function worked fine, and the reverb settings all seemed pretty nice and useable. It seemed to roll off some of the high end, but I didn't think that was a big deal. When you switch between modes there aren't any click settings, the knob just rolls smoothly and you have to listen for when it switches, so that was strike two. Okay, once again, it's a backup pedal so not a huge deal, but definitely a second strike against it. Unfortunately, after using the pedal for a couple hours at a jam, the pedal just turned off. I know it wasn't the battery because I was using a fresh one. I also found it surprising that there was no bipass - it stopped my guitar signal altogether. Usually if a pedal is not powered it allows the signal to pass through, but the DR400 stopped the signal from going to the amp. I tried the pedal again the next day and it worked for a few minutes but then shut down again. So I'll be sending this one back to Amazon. I'm thinking about an overdrive pedal instead so stay tuned...

-Cutter Savage
Check out my music videos - Cutter Savage YouTube channel
Free guitar instrumental music - Cutter Savage on SoundCloud